How to Fix a Leaky Faucet: A Step-by-Step Guide for Any Faucet Type
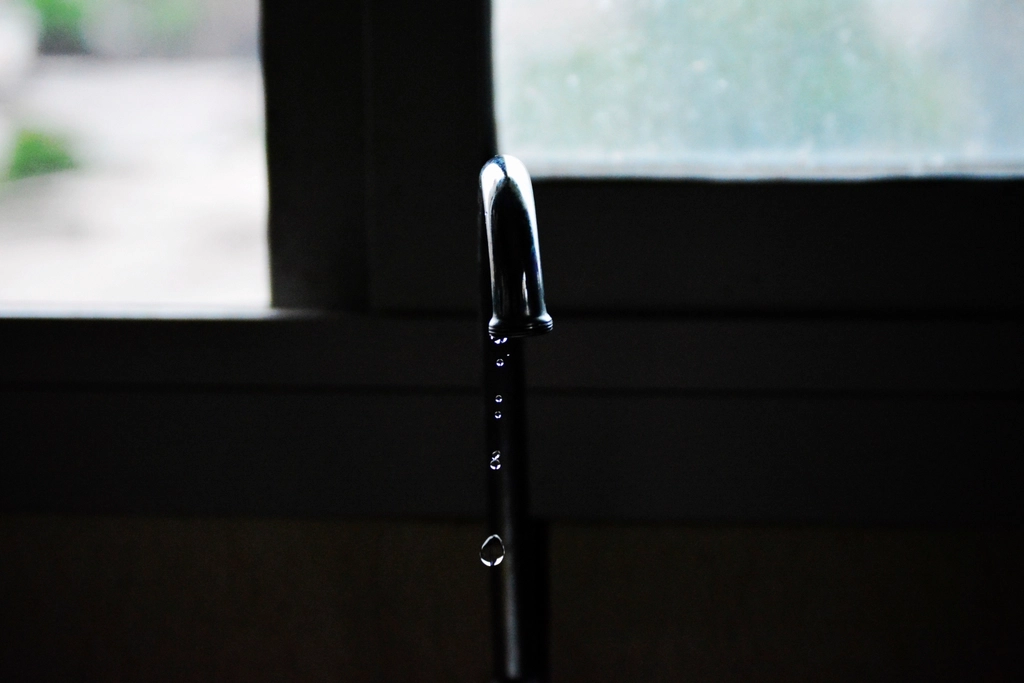
That steady drip from your faucet is more than an annoying sound. A faucet dripping once per second wastes more than 3,000 gallons of water a year, according to the U.S. Environmental Protection Agency. The good news is that learning how to fix a leaky faucet is one of the easiest plumbing repairs a homeowner can do. Most leaks are caused by a worn washer, O-ring, or cartridge, and the whole job usually takes less than an hour with basic tools.
This guide walks you through the repair step by step, covering the three most common faucet types: cartridge, ball, and compression. No plumbing experience is needed.
What Causes a Faucet to Leak?
Almost every faucet leak comes down to a worn-out seal. Inside the faucet, rubber washers, O-rings, and cartridges control the flow of water. Over time, friction, mineral deposits, and water pressure wear these parts down, and water starts to slip past them.
Where the water appears tells you which part has failed:
- Dripping from the spout: a worn washer, cartridge, or valve seat
- Leaking around the handle: a worn cartridge or packing O-ring
- Leaking from the base of the faucet: worn O-rings on the faucet body
Once you know your faucet type and where the leak is, the repair is mostly a matter of replacing the failed part with an identical new one.
Tools and Materials You Will Need
Gather everything before you start so you do not have to stop mid-repair with the water shut off.
Tools:
- Adjustable wrench
- Phillips and flathead screwdrivers
- Needle-nose pliers
- Allen wrench (hex key) set
- Utility knife (optional, for prying off handle caps)
Materials:
- Replacement cartridge, washers, or O-rings (matched to your faucet model)
- Plumber’s grease
- White vinegar and an old cloth (for cleaning mineral deposits)
- A towel or small bucket to catch leftover water
Cost note: A washer and O-ring kit typically costs $5 or less, and a replacement cartridge runs $15 to $35. Doing the job yourself can save the $150 to $350 a plumber would charge for the same visit.
Before You Start: Shut Off the Water
This step is not optional. Look under the sink for two shut-off valves, one for hot and one for cold, and turn both clockwise until they stop. If your sink has no shut-off valves, turn off the main water supply to the house instead.
Next, open the faucet and let the remaining water drain out. Plug the sink drain with a rag or stopper. This small step matters: screws and O-rings have a habit of falling straight down the drain during faucet repairs.
Step 1: Remove the Faucet Handle
Start by removing the handle so you can reach the parts inside.
- Single-lever faucet: Look for a small set screw at the base or back of the handle. Loosen it with an Allen wrench, then lift the handle off.
- Two-handle faucet: Pry off the decorative cap on top of the handle (a flathead screwdriver or utility knife works). Remove the screw underneath, then pull the handle off.
Set the handle and screw aside somewhere safe, and keep the parts in the order you remove them. Taking a quick phone photo at each stage makes reassembly much easier.
Step 2: Remove the Cartridge, Stem, or Ball Assembly
What you see under the handle depends on your faucet type.
- Cartridge faucet: Unscrew the retaining nut or pull out the retaining clip with needle-nose pliers, then pull the cartridge straight out. Note its exact orientation before removing it, because the new one must go in the same way.
- Ball faucet: Lift out the ball assembly, cam, and the small rubber seals and springs underneath. These seals and springs are the usual cause of leaks in ball faucets.
- Compression faucet (two handles): Unscrew the stem assembly from the faucet body with an adjustable wrench. At the bottom of the stem you will find the rubber washer, held in place by a small brass screw.
Step 3: Inspect and Replace the Worn Parts
Examine every rubber part you removed. Washers and O-rings that are cracked, flattened, or brittle are the problem and must be replaced. Take the old parts to the hardware store and match them exactly, since faucet parts are rarely interchangeable between brands.
- Compression faucets: Unscrew the brass screw, swap in the new washer, and replace the O-ring on the stem as well.
- Cartridge faucets: If the O-rings look worn but the cartridge is smooth, you can replace just the O-rings. If the cartridge is scored, corroded, or stiff, replace the whole cartridge.
- Ball faucets: Replace the rubber seals and springs with a repair kit made for your faucet model.
While the faucet is apart, wipe away any white or green mineral crust with a cloth soaked in white vinegar. Deposits left behind can keep new parts from sealing properly. Also check the valve seat inside a compression faucet: if its surface feels rough, it will shred new washers, and it should be smoothed with a seat-dressing tool or replaced.
Step 4: Reassemble the Faucet
Work in reverse order. Coat new O-rings with a thin layer of plumber’s grease before installing them; this helps them seal and last longer. Slide the cartridge, stem, or ball assembly back into place, making sure a replacement cartridge faces the same direction as the old one. Reinstall the retaining nut or clip, then the handle and its screw or set screw. Tighten everything snugly, but do not force it — over-tightening can crack fittings and damage new seals.
Step 5: Turn the Water On and Test
Remove the rag from the drain and slowly turn the shut-off valves back on. Let the water run for a few seconds to flush out any debris, then shut the faucet off and watch it. A properly repaired faucet stops completely, with no drip from the spout and no moisture around the handle or base. Run both the hot and cold sides and check under the sink for any leaks around the supply connections.
If a small drip remains, the most common reasons are a cartridge that was installed facing the wrong way, a damaged new washer, or a worn valve seat that needs attention.
How Much Does It Cost to Fix a Leaky Faucet?
Doing it yourself is inexpensive. Washers and O-rings cost a few dollars, a full repair kit for a ball faucet is usually under $20, and a new cartridge is typically $15 to $35. If you need to buy basic tools as well, add $20 to $40 for a starter set you will use for years.
Hiring a plumber for the same repair generally costs between $150 and $350, depending on your area and the faucet type. That is why this repair is worth trying yourself first: the parts are cheap, the job is reversible, and the worst realistic outcome is that you put it back together and call a professional with a better understanding of the problem.
When to Call a Plumber Instead
Some situations are better left to a professional:
- The shut-off valves themselves leak or will not turn
- You see corroded, cracked, or actively leaking pipes under the sink
- The leak is coming from the supply lines rather than the faucet
- The faucet is old, heavily corroded, or replacement parts are no longer available
- Water has damaged the cabinet, countertop, or wall
In these cases, continuing to work on the faucet will not solve the real problem, and a plumber can prevent a small leak from turning into water damage.
Frequently Asked Questions
Why is my faucet still dripping after I replaced the washer?
The usual cause is a worn valve seat. If the seat’s surface is rough or pitted, it tears up the new washer quickly. Smooth the seat with a seat-dressing tool or replace it, and the drip should stop.
How long does it take to fix a leaky faucet?
For a first-timer, plan on 30 to 60 minutes. Once you have done it once, most faucet repairs take about 20 minutes, most of which is removing and reinstalling the handle and parts.
Do I have to shut off the main water supply?
Only if your sink does not have its own shut-off valves. Most modern sinks have hot and cold valves in the cabinet below. If those valves are missing, stuck, or leaking, use the main shut-off for the house.
How much does a plumber charge to fix a leaky faucet?
Most plumbers charge between $150 and $350 for a standard faucet repair visit. Replacing a few dollars’ worth of washers or a cartridge yourself avoids that service fee entirely.
What does it mean if my faucet leaks from the base?
A leak at the base usually means the O-rings on the faucet body are worn. Shut off the water, remove the spout assembly, replace the O-rings with matching new ones, coat them with plumber’s grease, and reassemble.